Floating frame DIY
I’ve hardly had any art up in my apartment since I moved in two and a half years ago. I decided early on that I didn’t want to just fill the walls with random stuff but instead wait until I found the perfect thing.
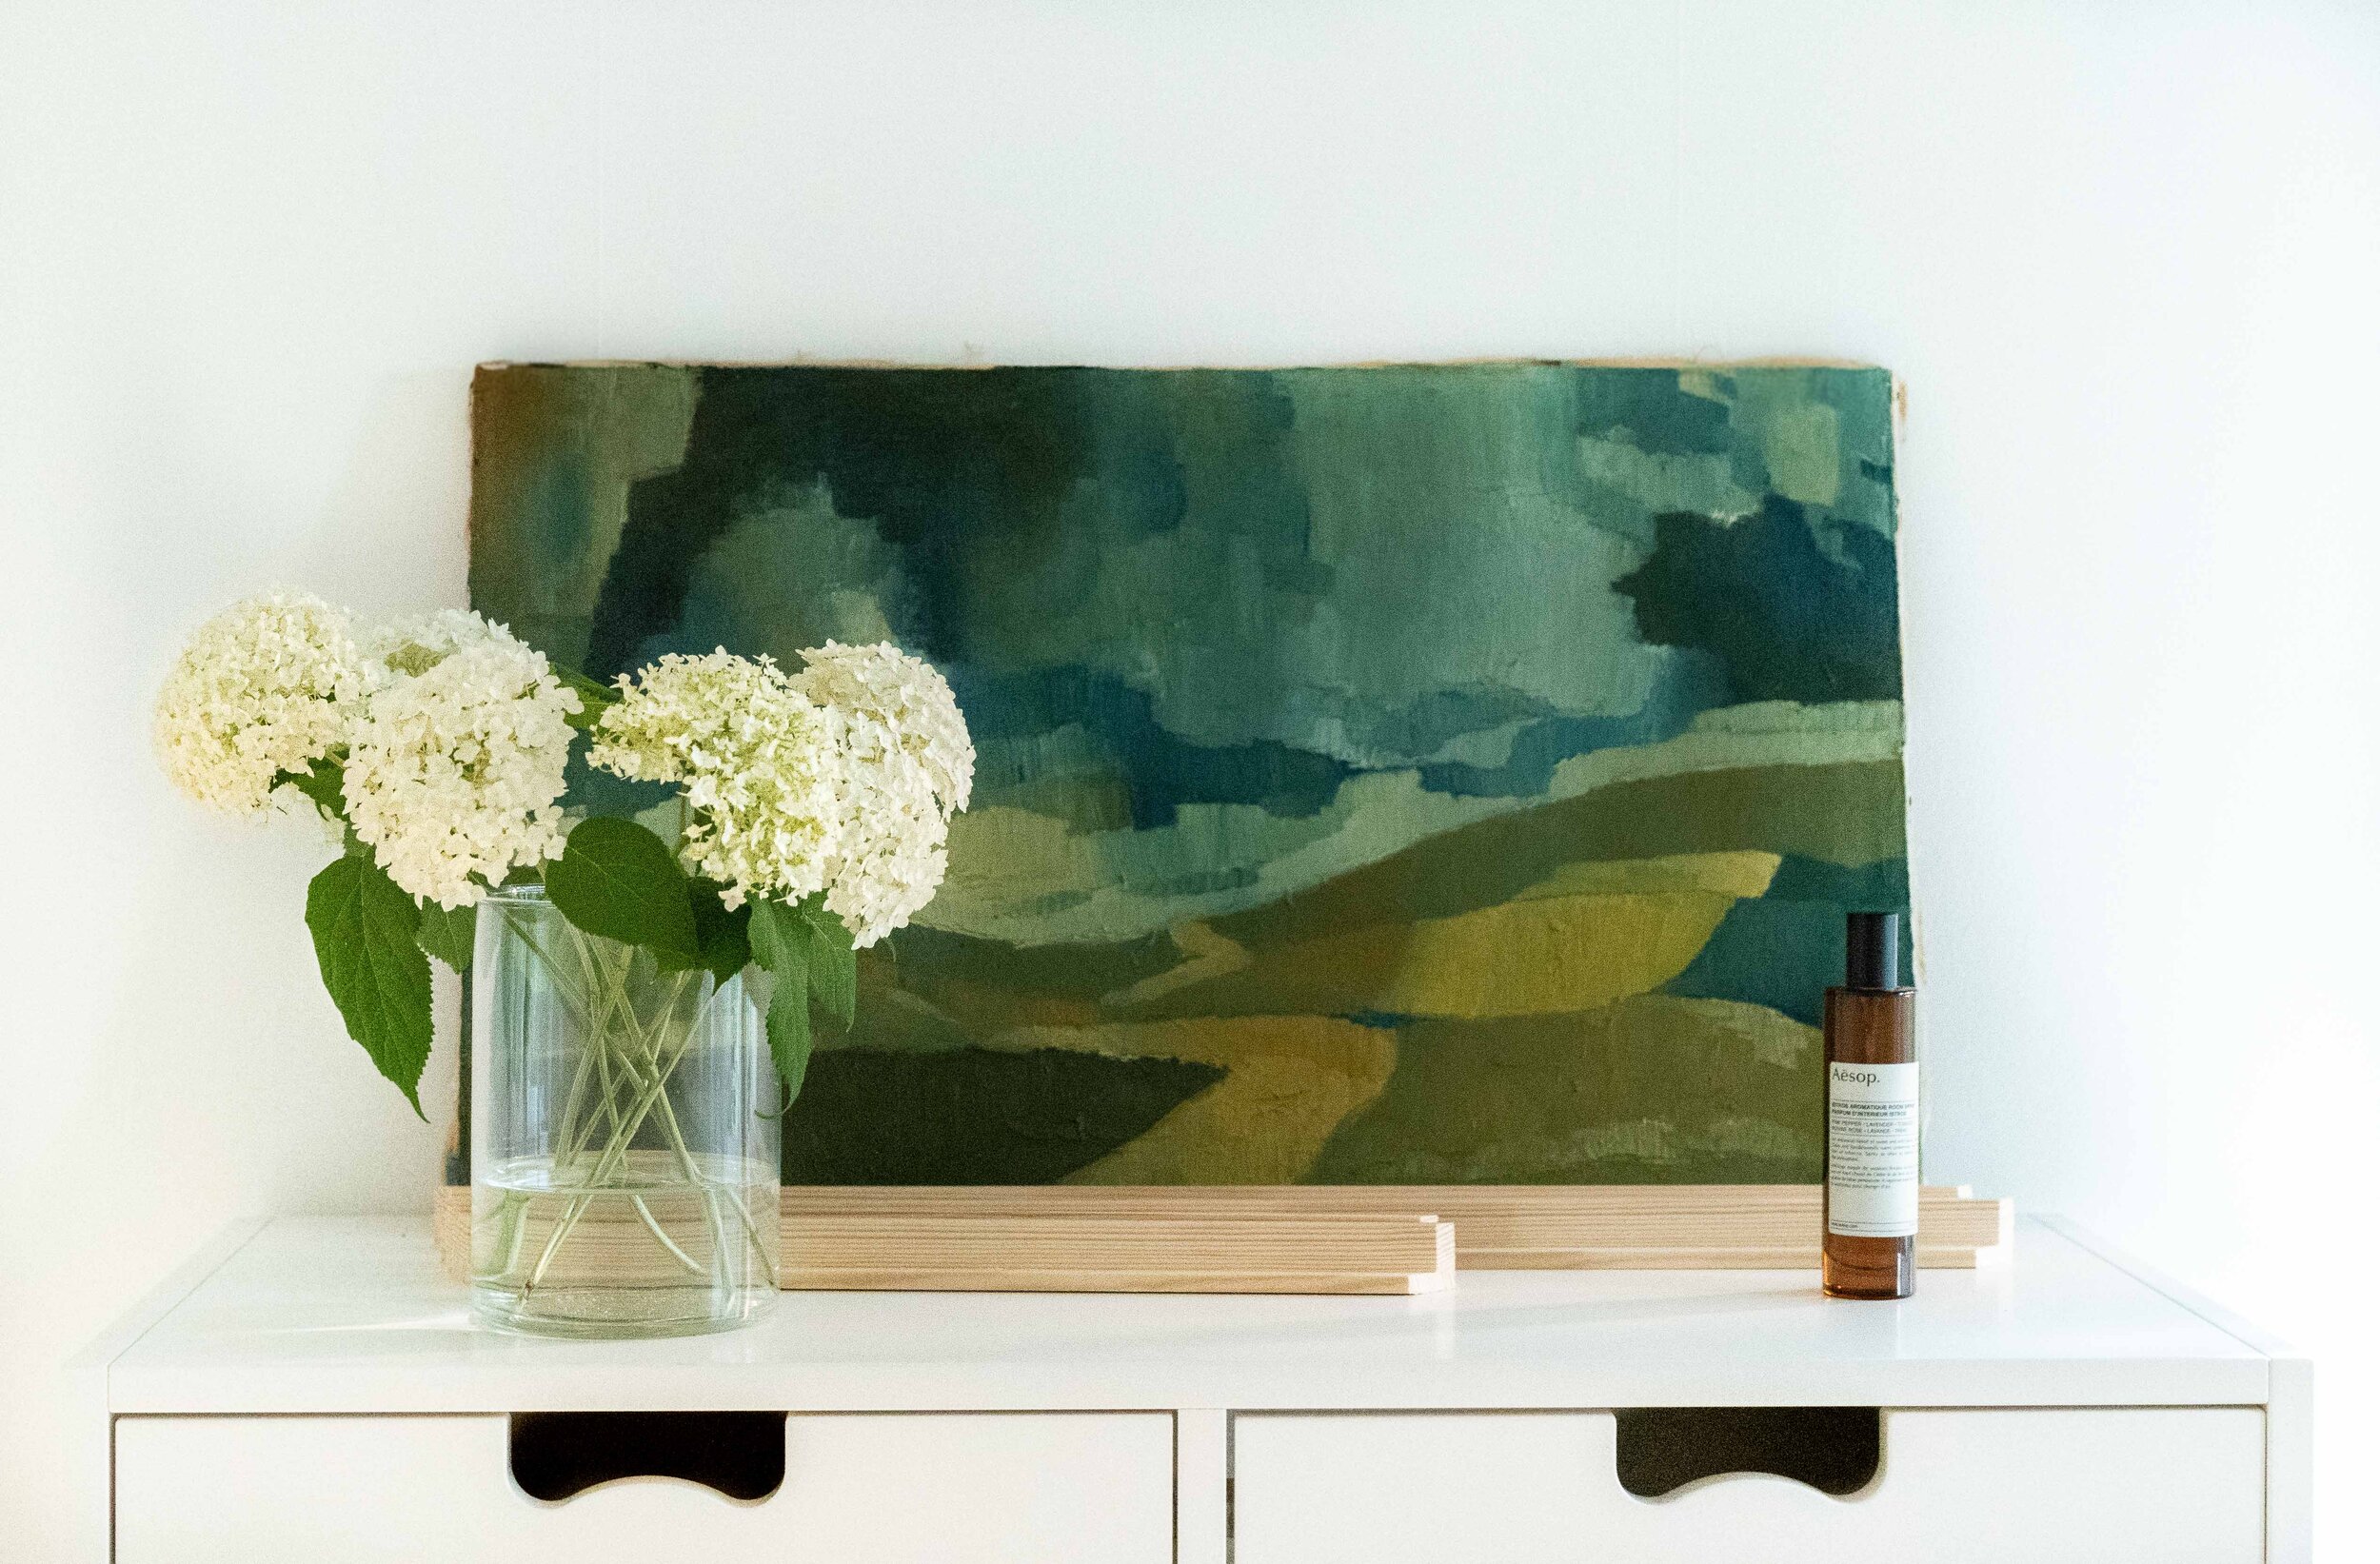
That took a while but I found it right under my nose. This painting has been around forever in my mom’s homes. It’s never had a prominent space. It’s hung on walls but in areas where my mom didn’t actually see it much.
I’ve always liked it. A lot. So when I asked her about it when I visited this summer she said she thinks my uncle Detlev (who was a “real” artist) painted it back in the early 60’s. And she never liked it.
Ok, first of all, why keep it if you don’t like it? My mom has quite a few of those things around her house. “So and so” gave it to her she says, when I ask her why she keeps it when she doesn’t enjoy it. There’s no point in arguing with her. It’s her home and she can keep whatever she wants obviously.
But this particular painting I could actually give a better home. With me! I asked if I could have it and she was happy to see it go. So it came home with me on the 6 hour train ride, wrapped in one of my teenage duvet covers.
I knew from the beginning that I didn’t want the original frame. It was outdated and didn’t do the painting any favors so I removed it and proceeded to build a floating frame to go around the canvas instead.
Here are the steps if you are looking to create something similar.

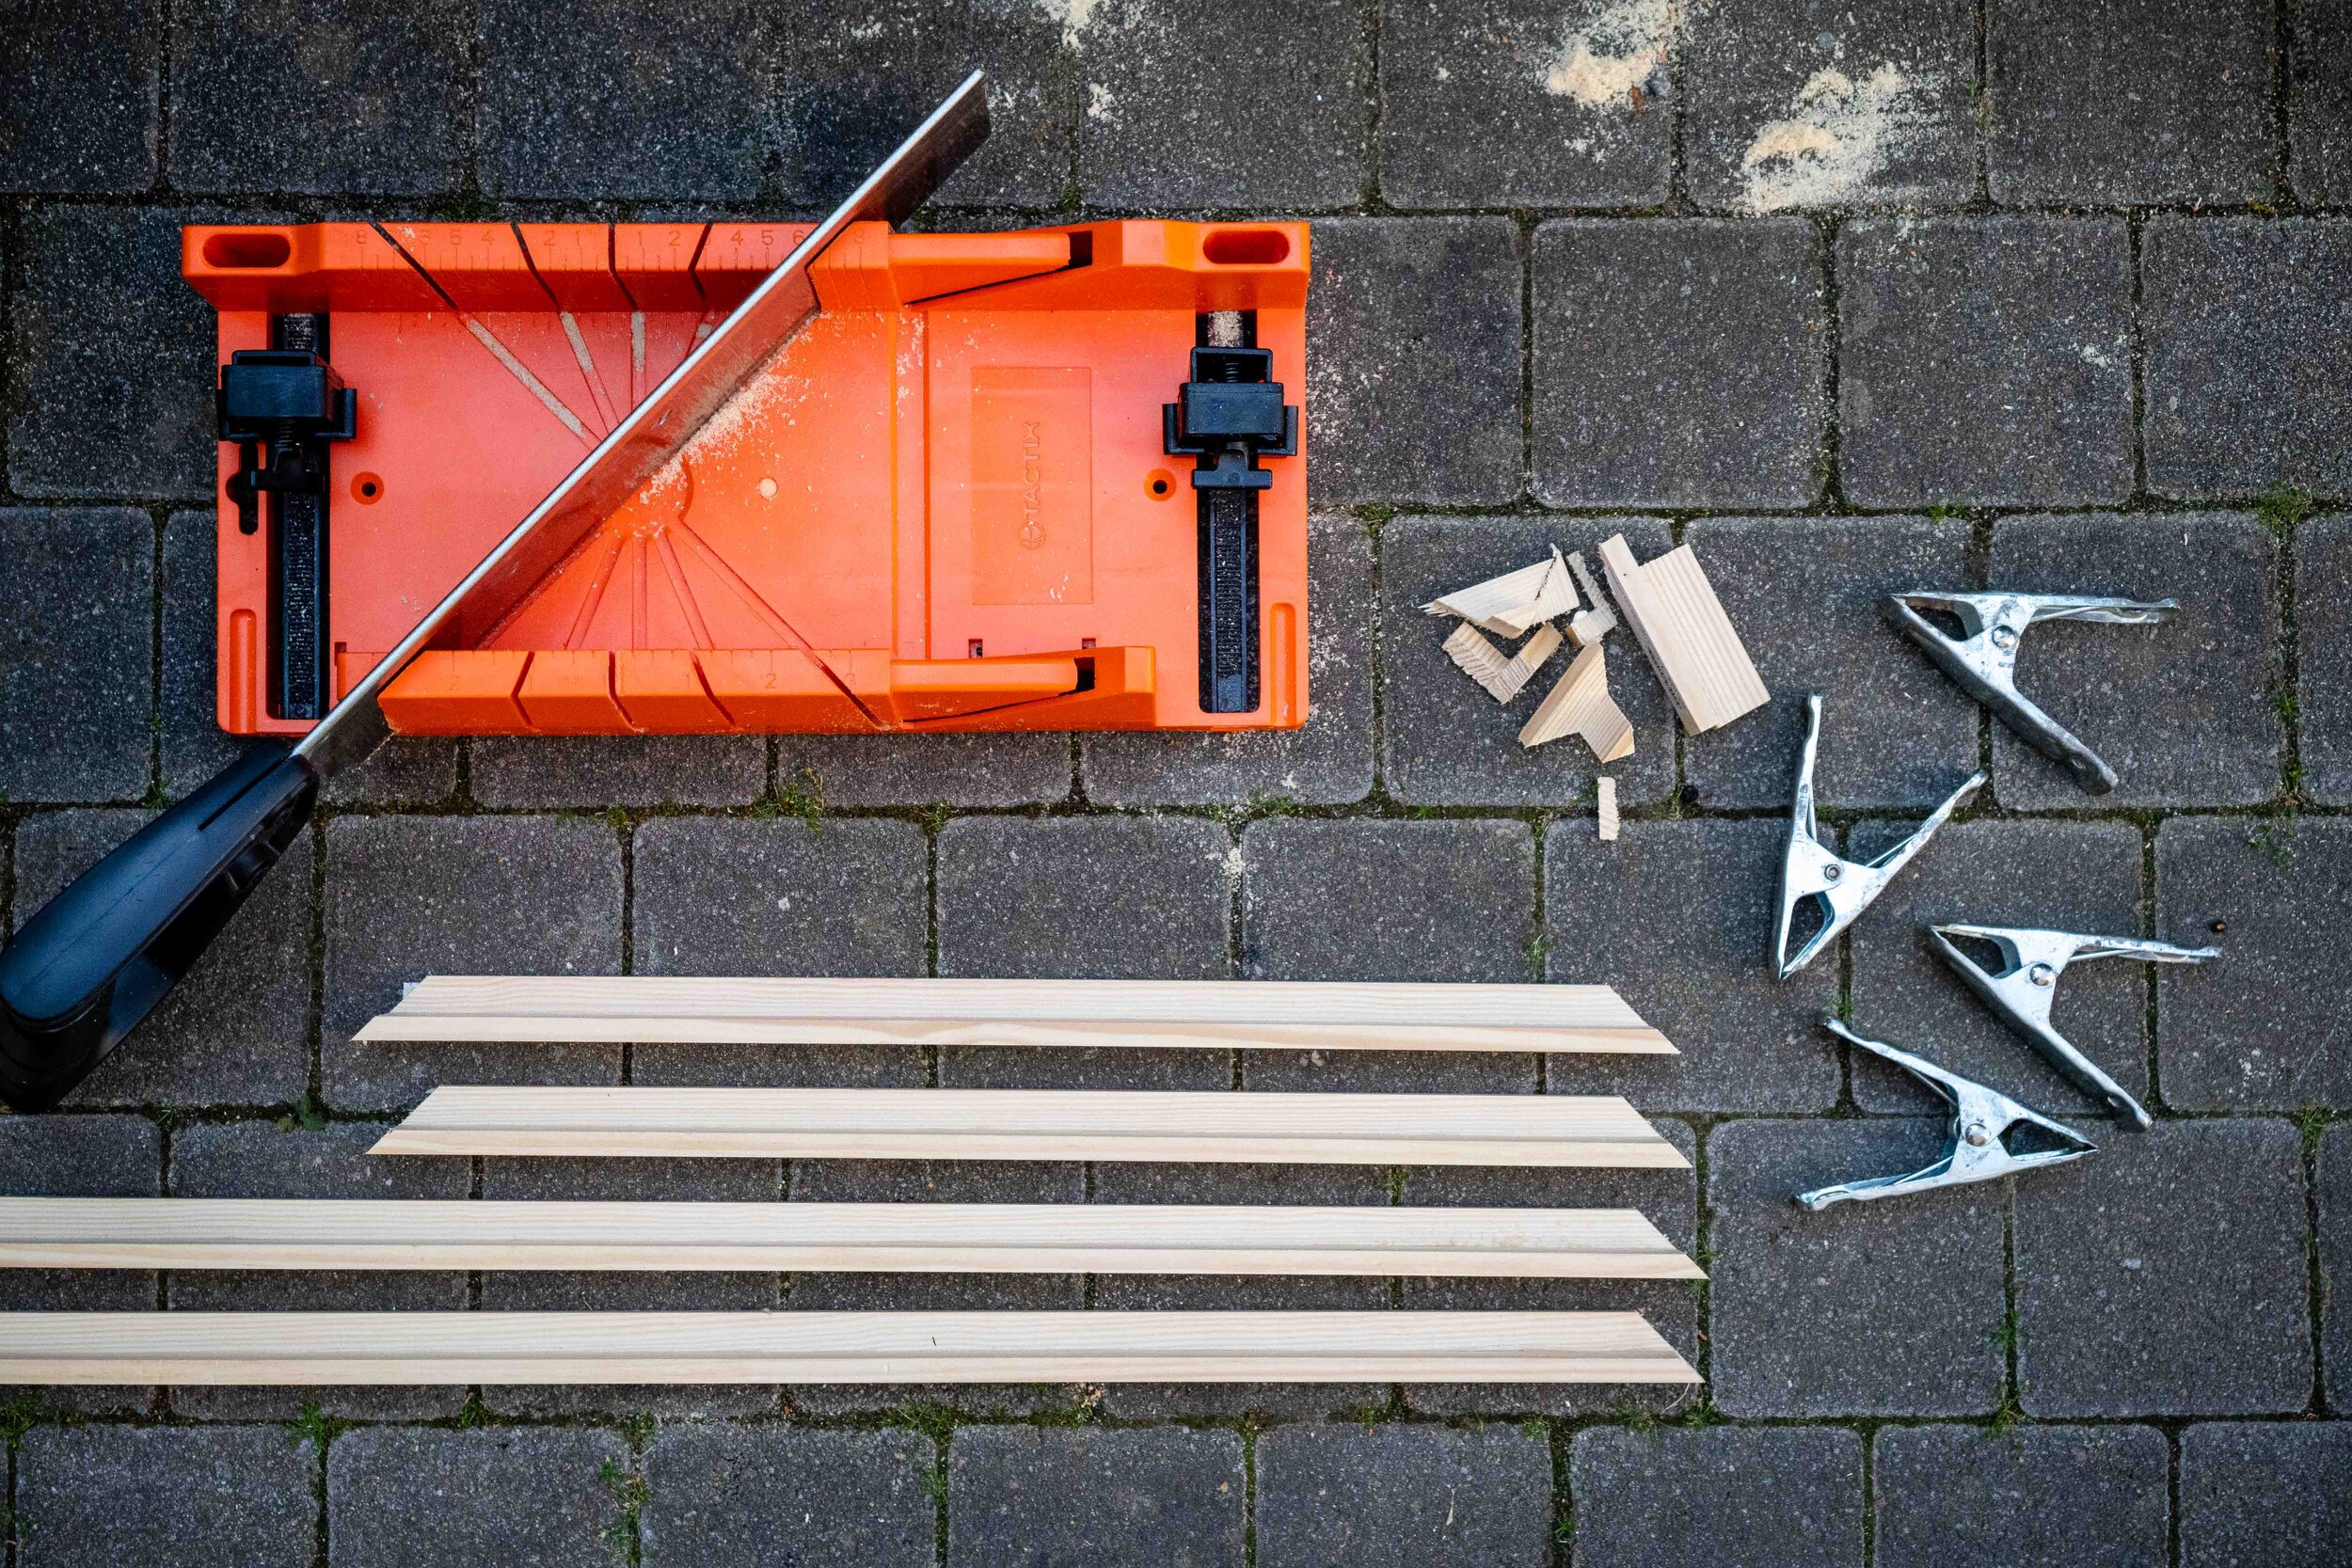

Tools and materials
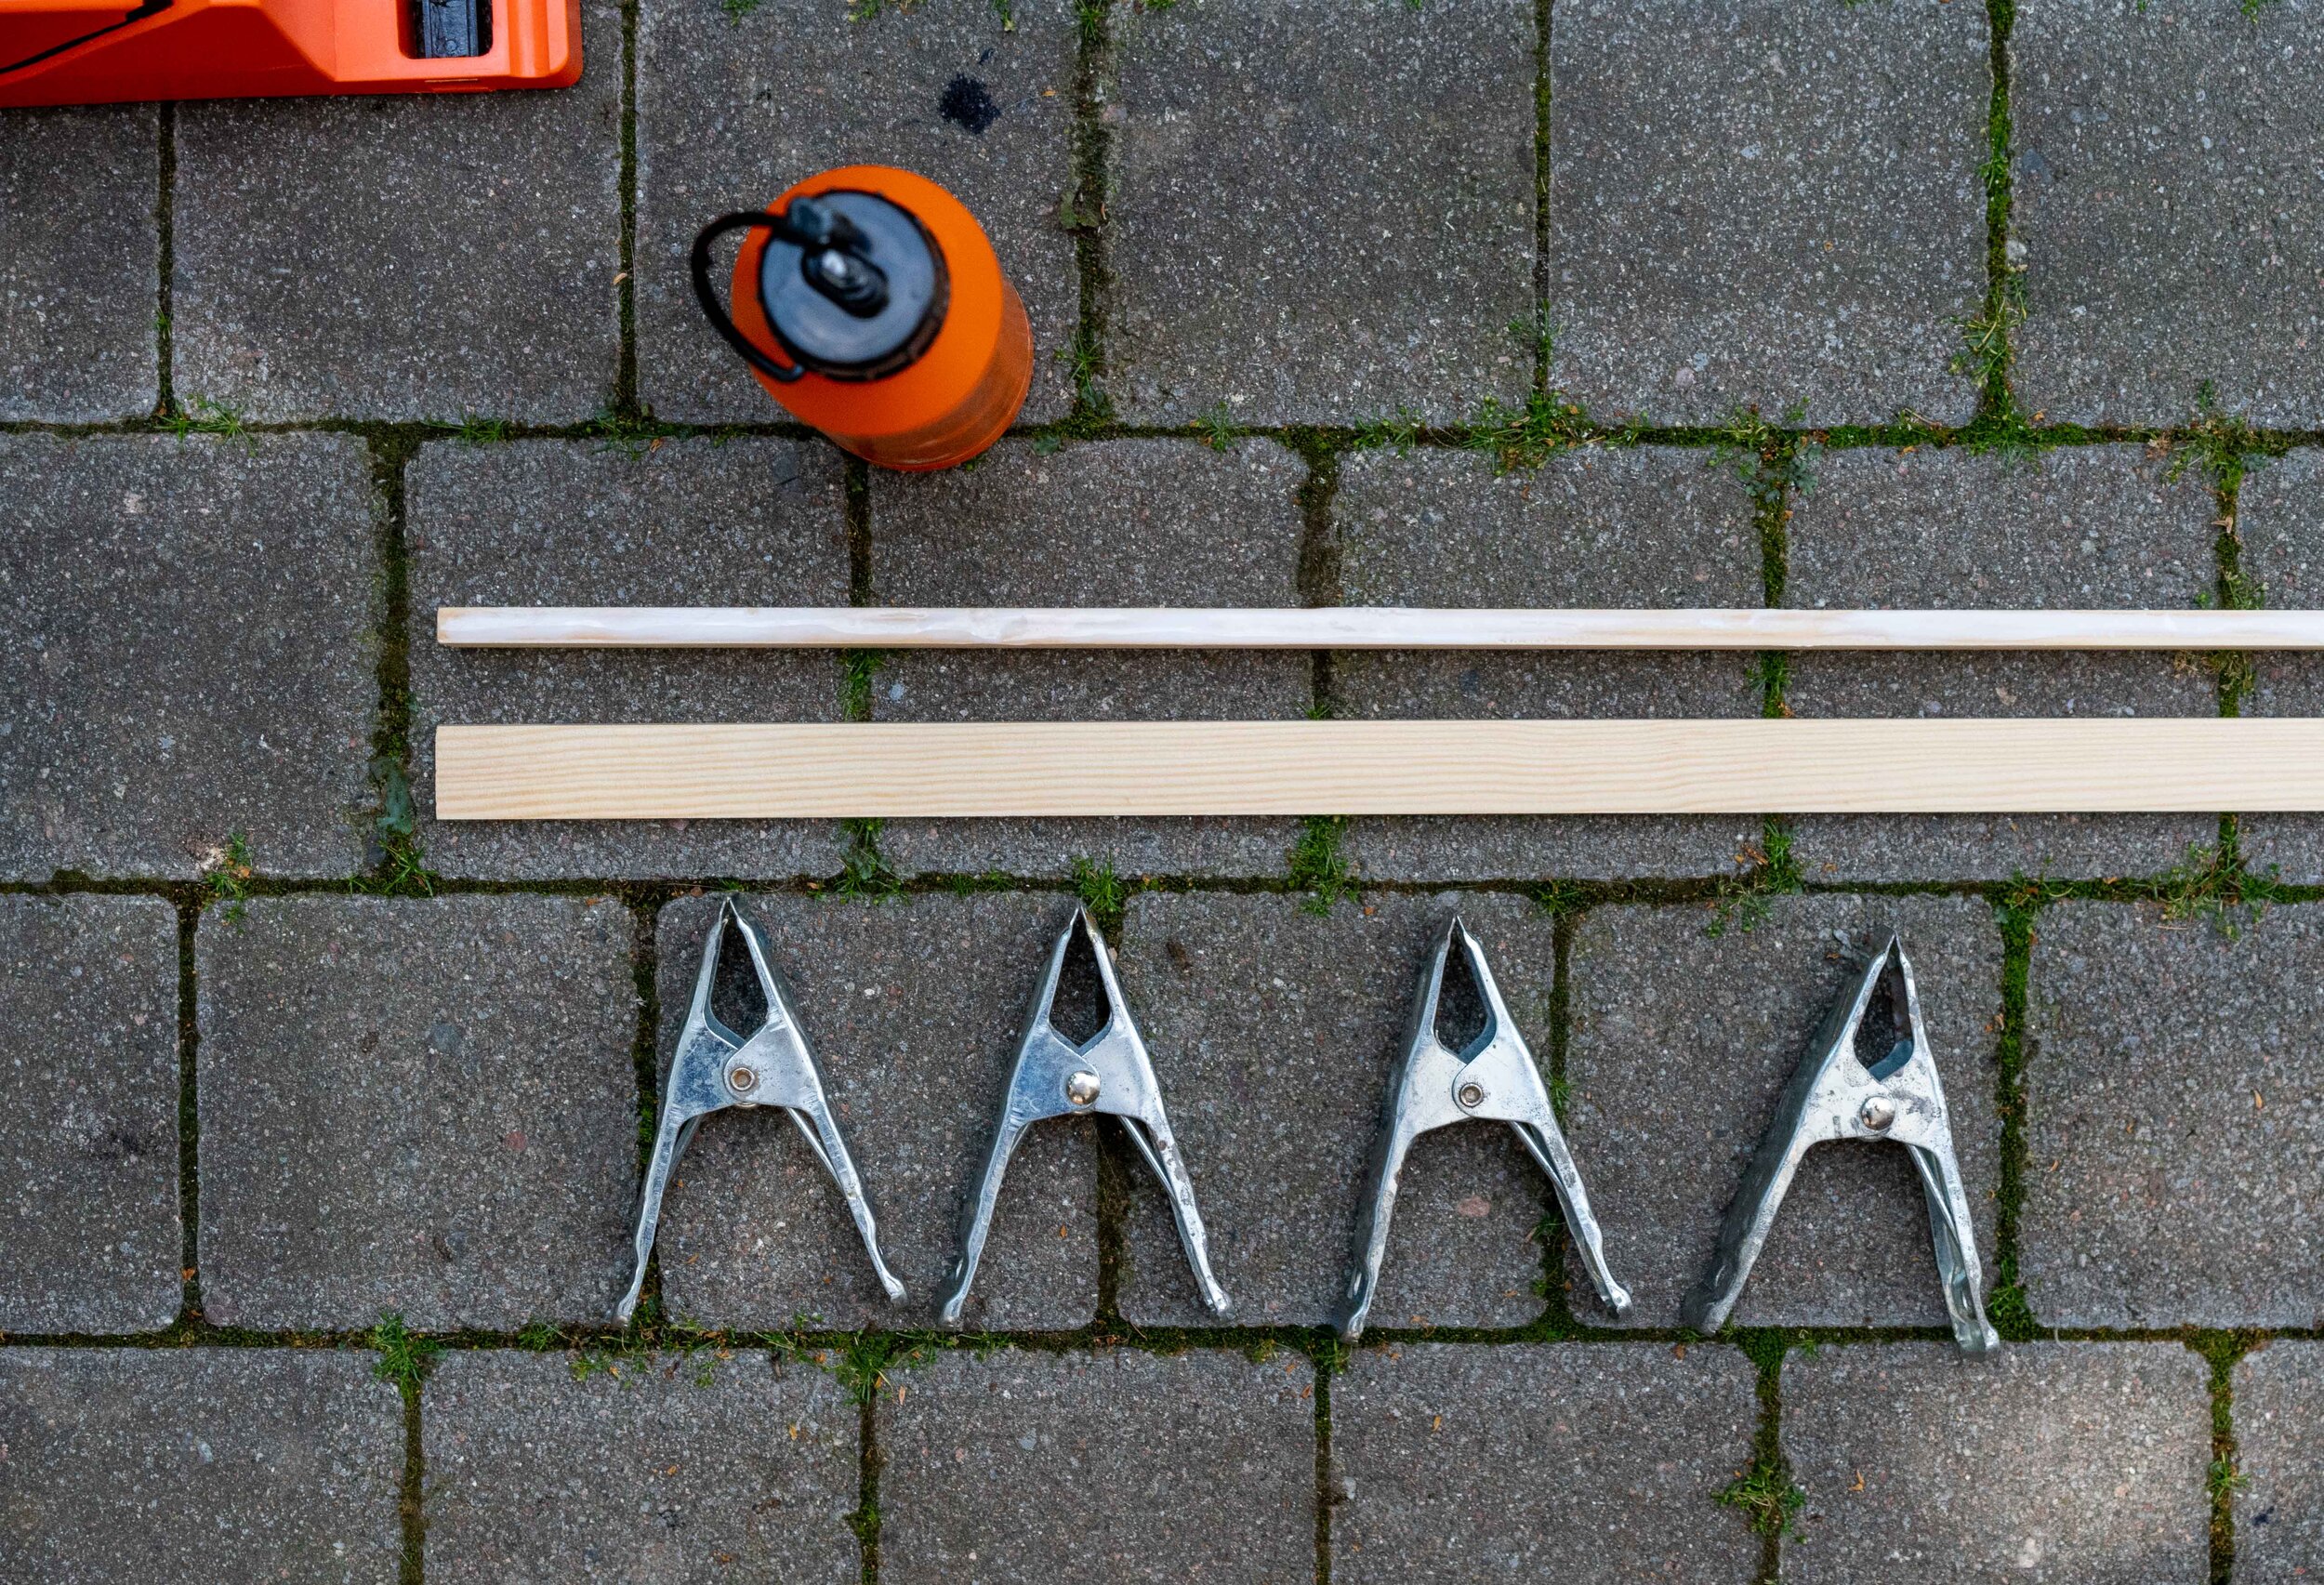
When choosing the dimension of wood for your floating frame you need to consider the size of your canvas as well as the depth of it. My canvas is 70x42cm and 2cm deep so I needed 4x70cm, 4x42cm and extra to allow for the space around the canvas as well as the mitered corners. The pieces of wood needed to be 2 cm wide so the canvas would be flush with the wood on the finished frame.
Wood trim
Wood glue
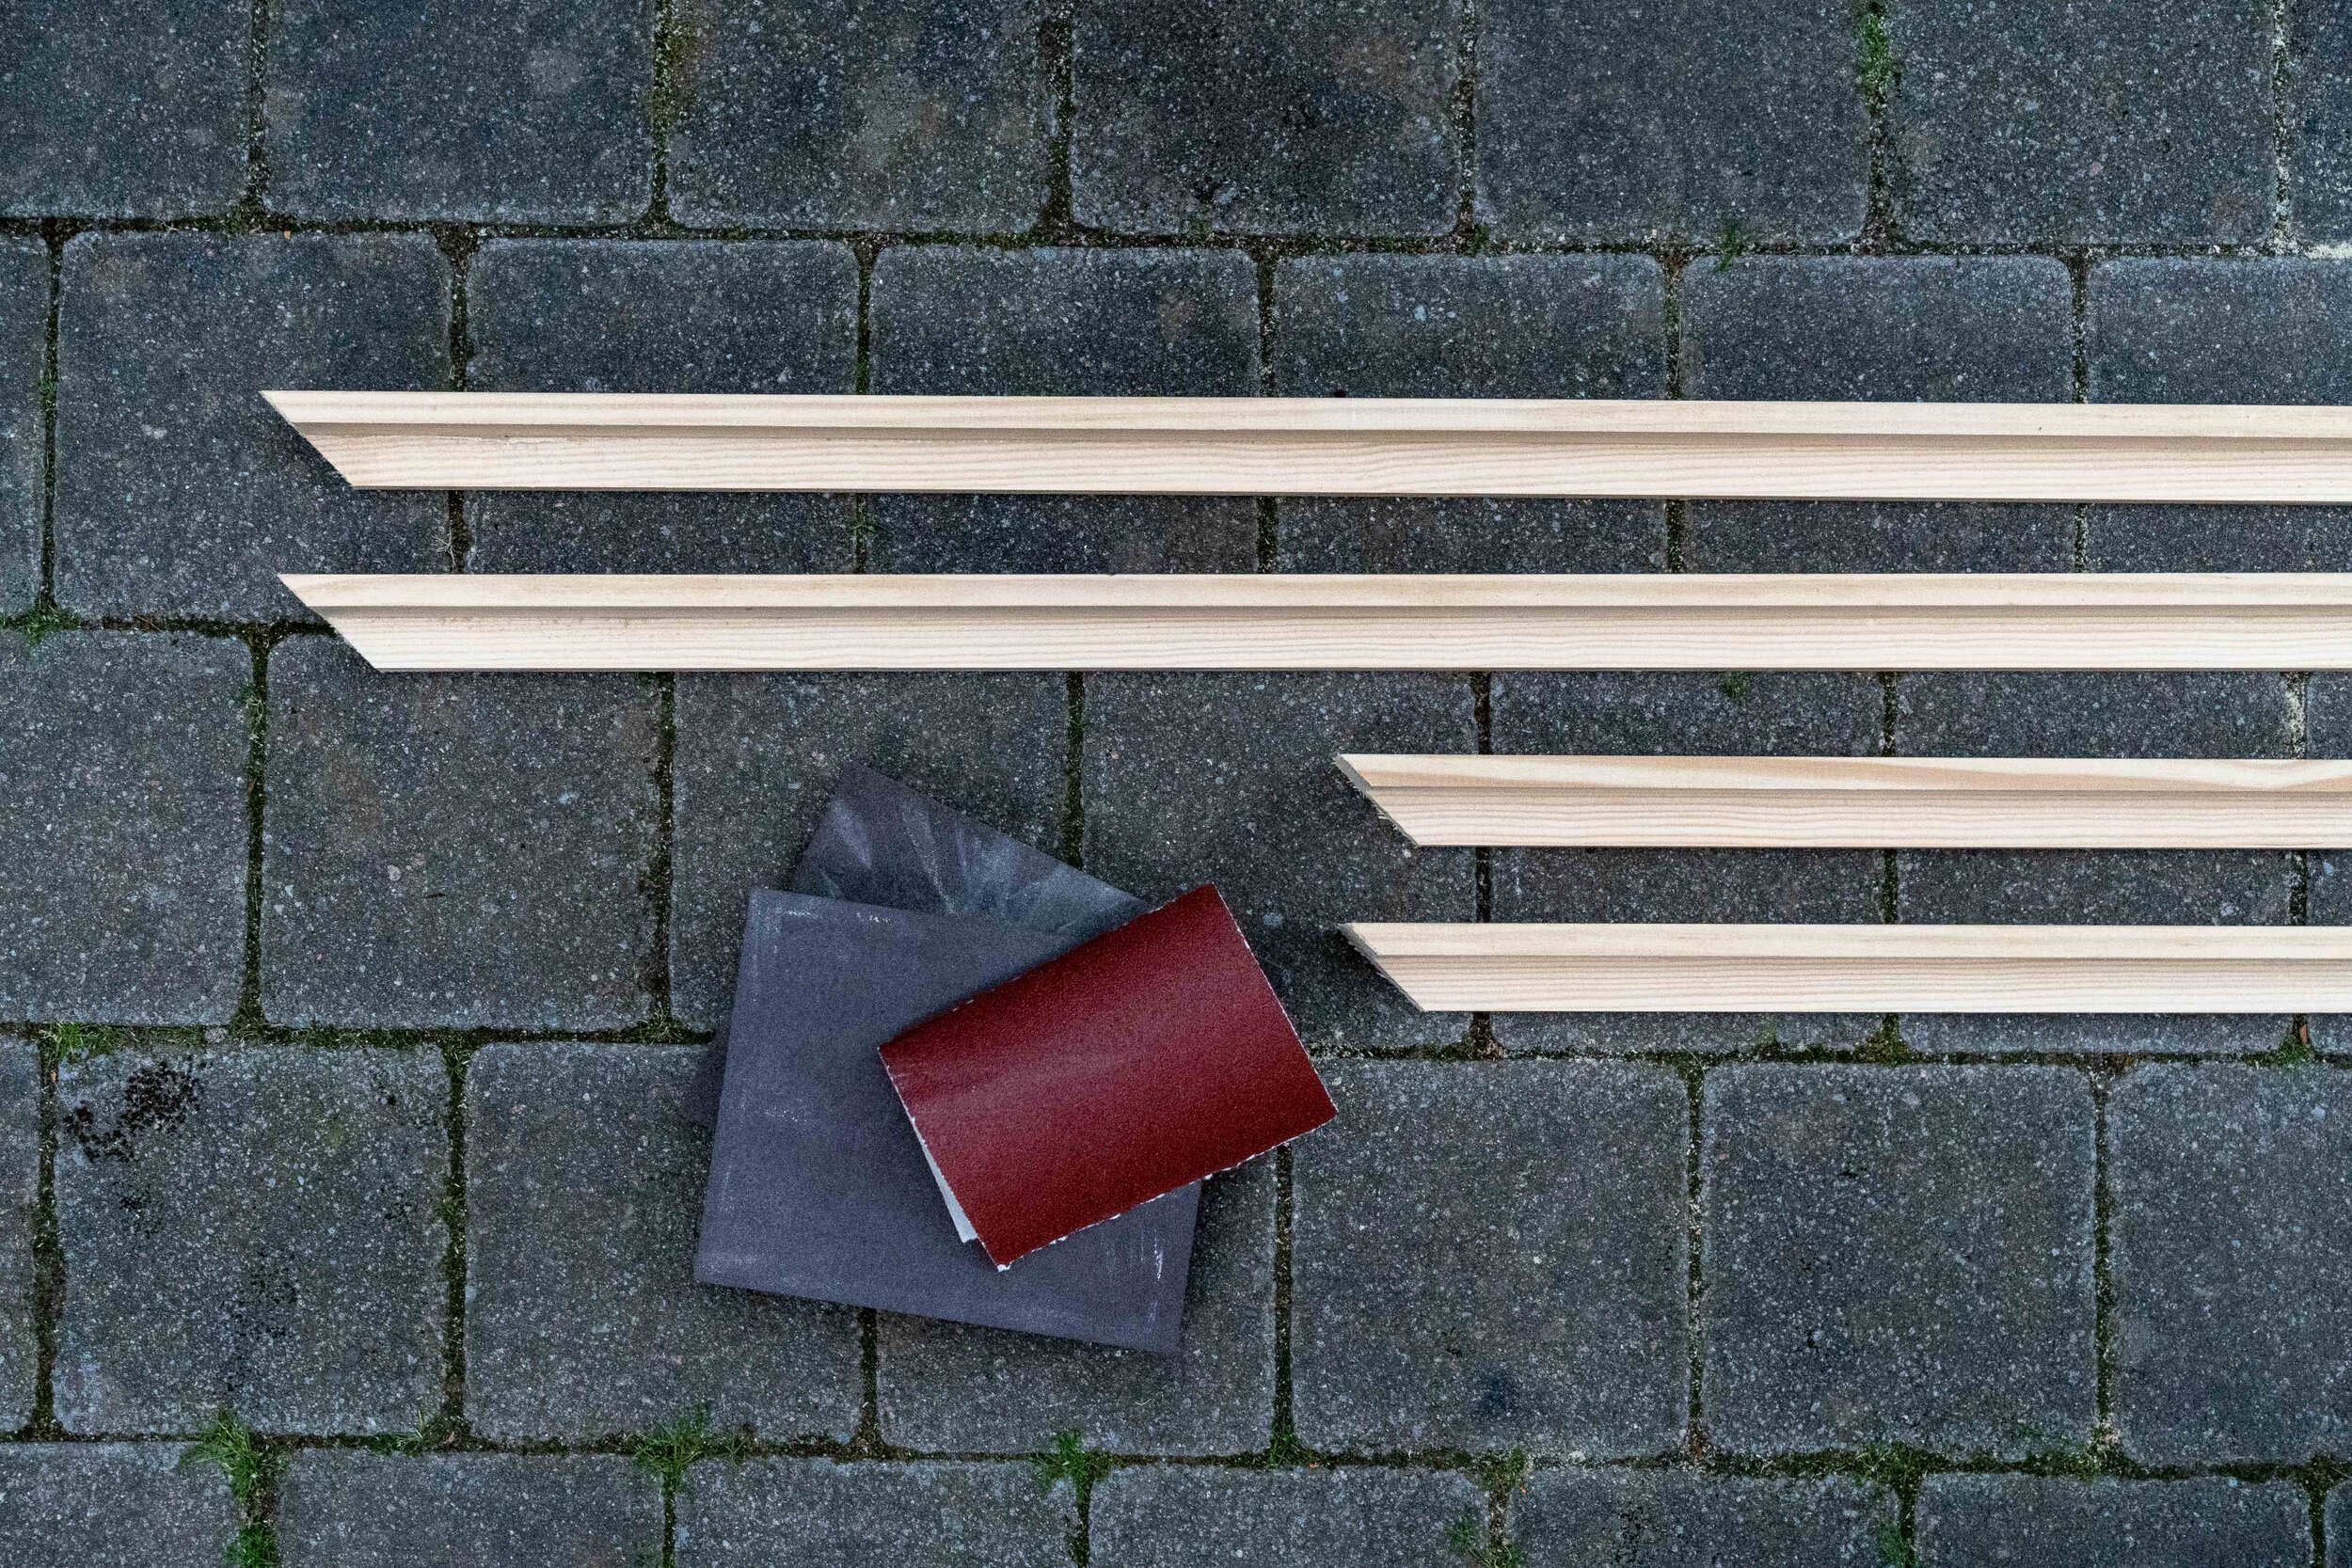
Sandpaper
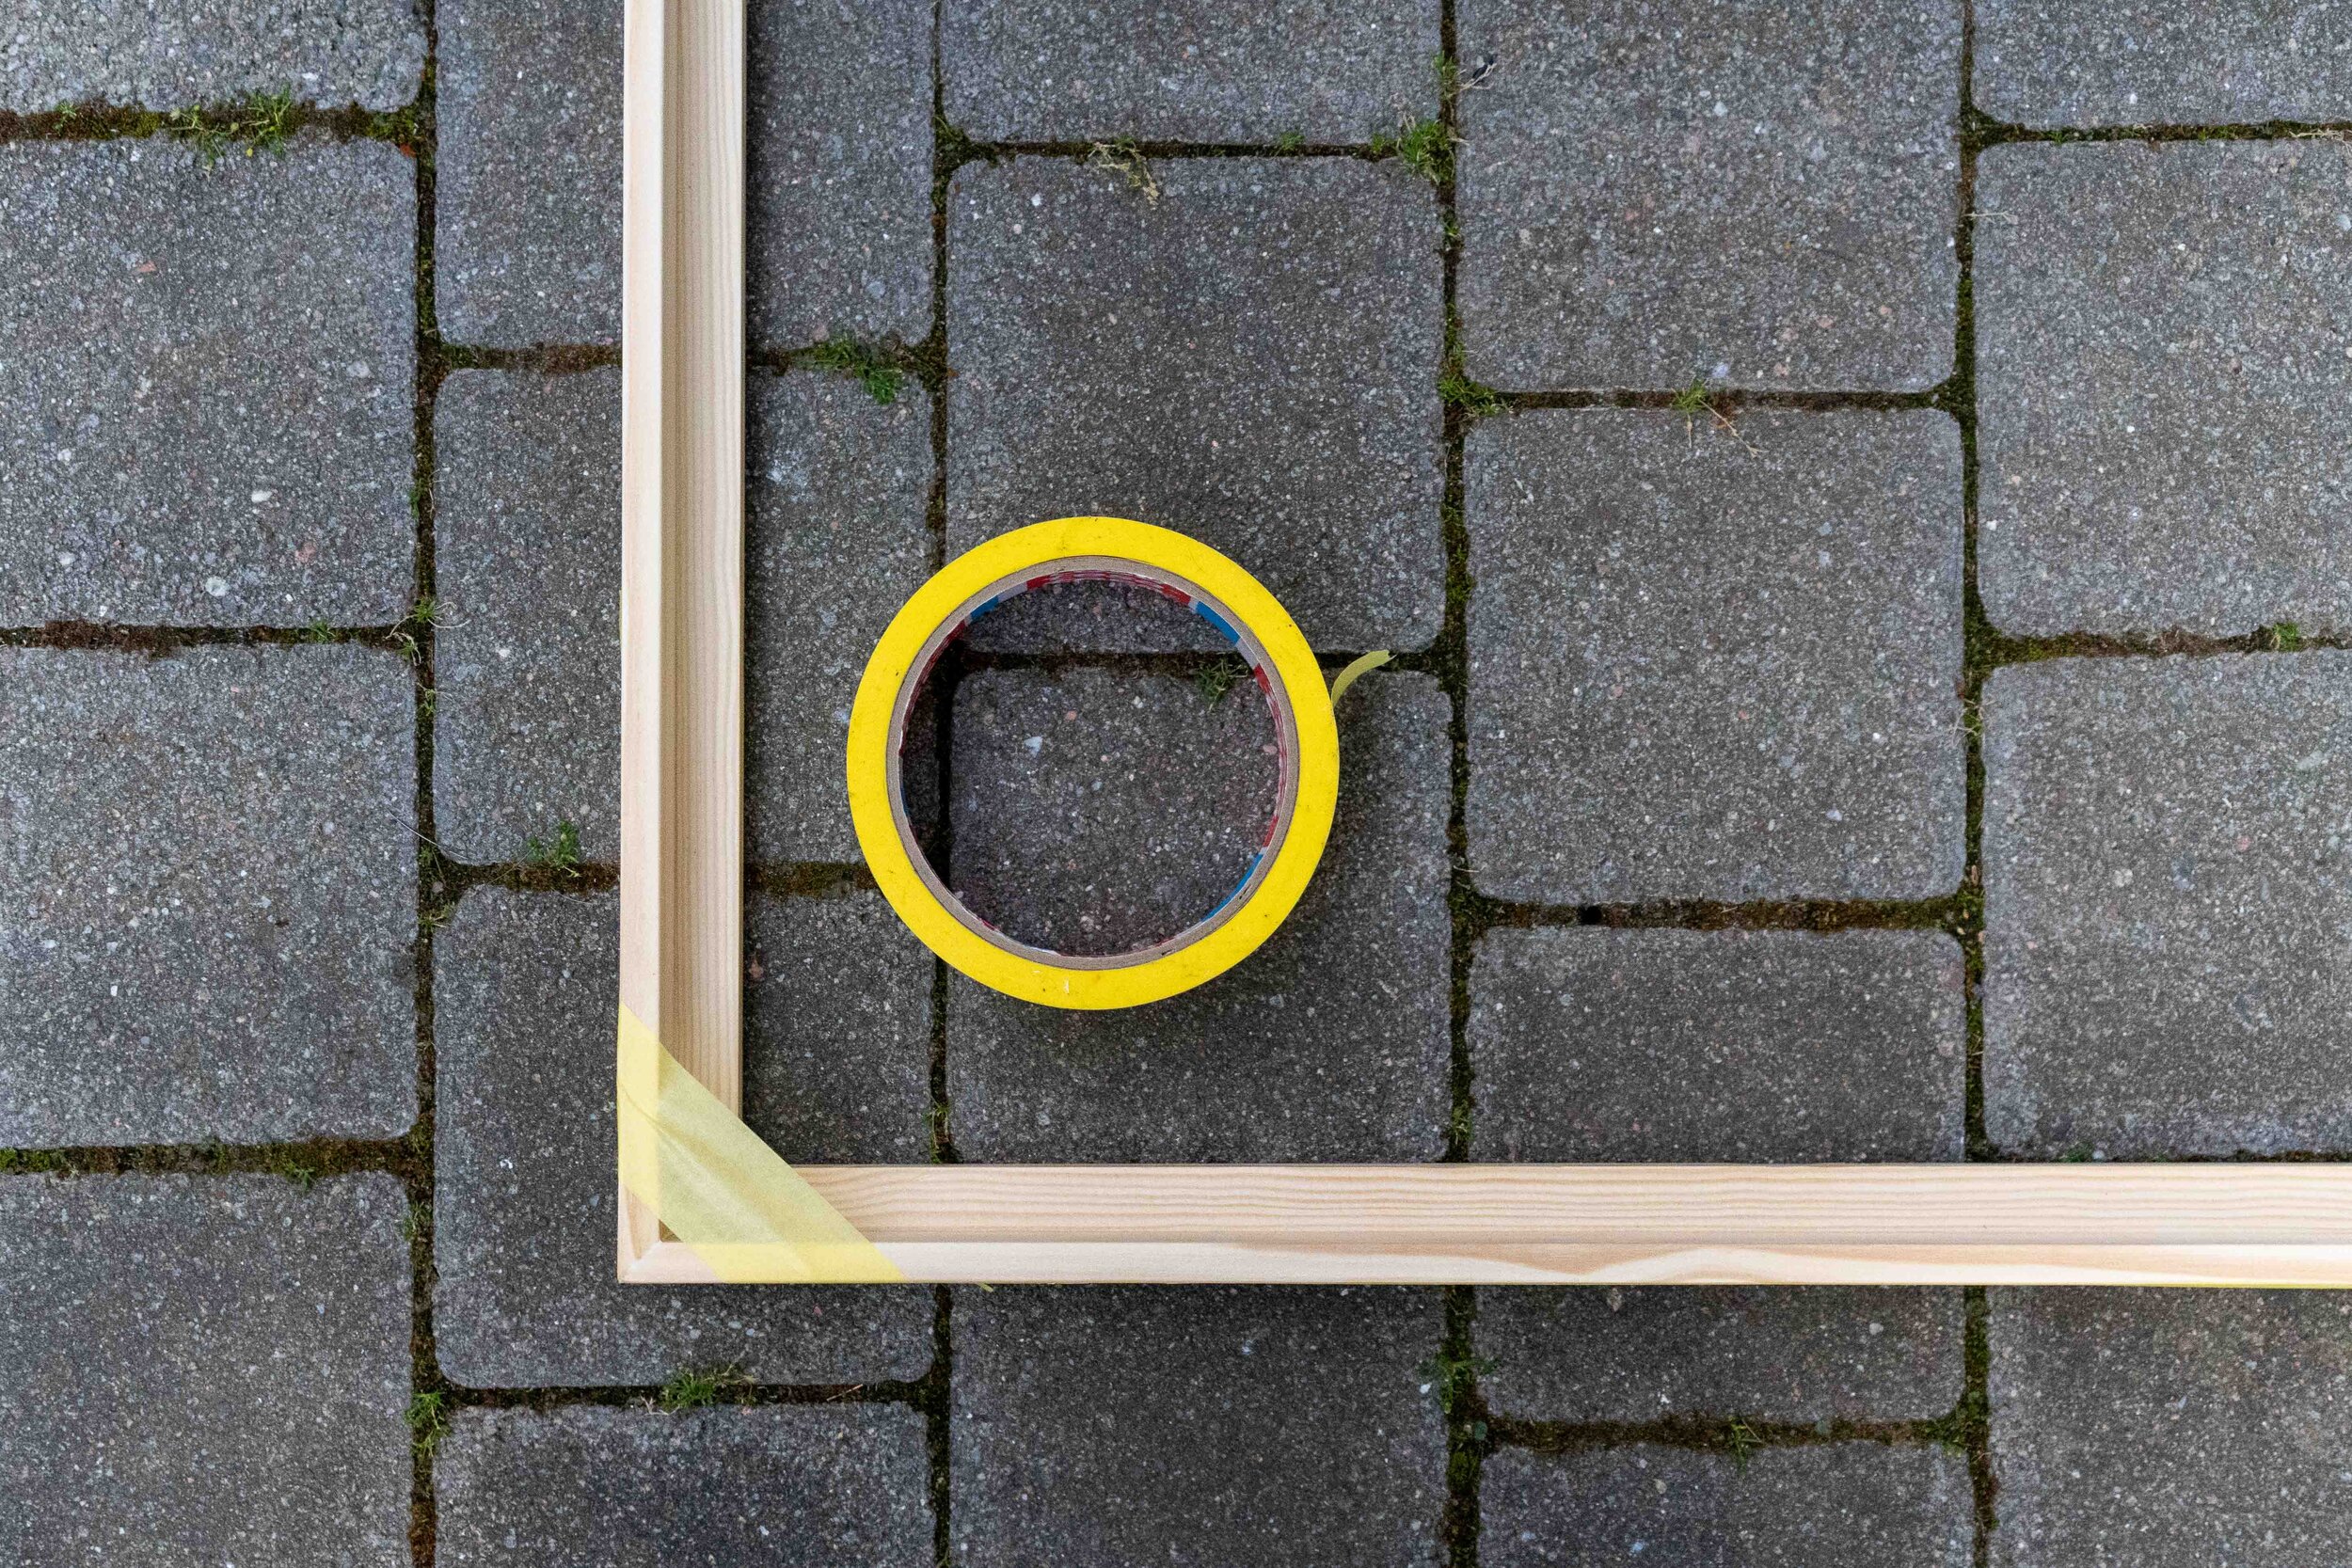
Masking tape
Clamps
Mitre saw
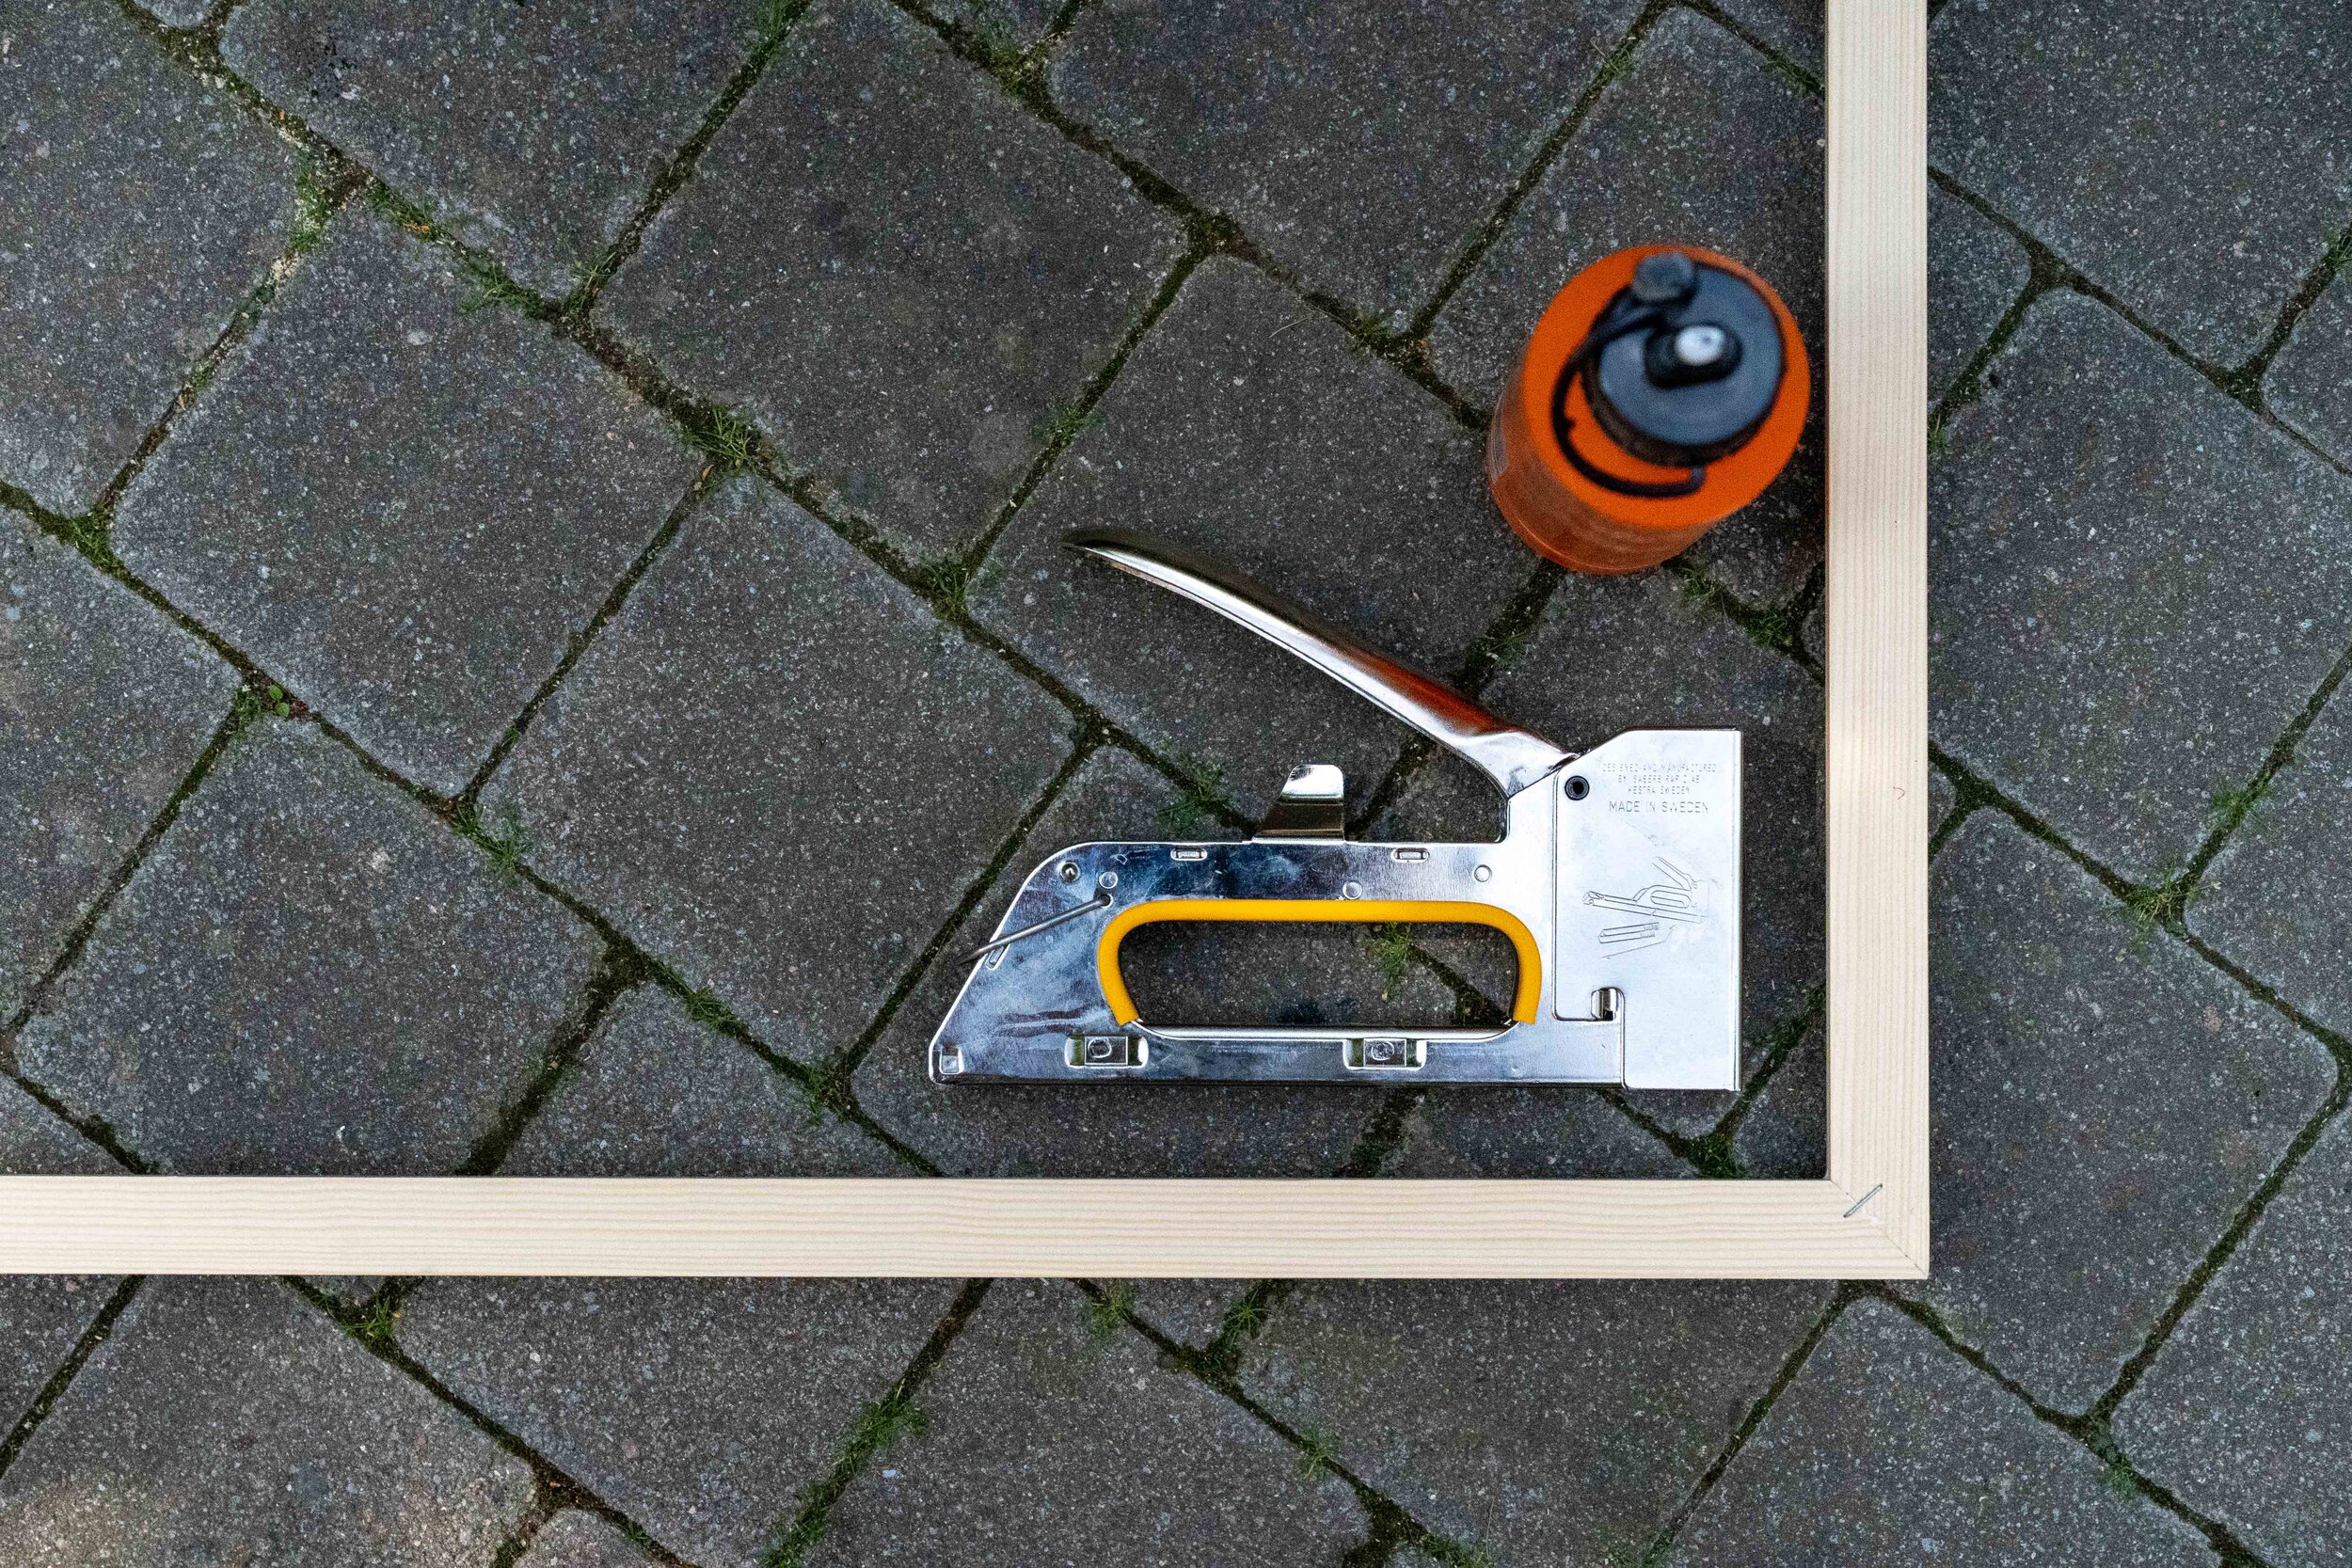
Staple gun
Varnish
Drill
Nails and screws
Wire for hanging
Felt pads
Step by step
Remove the old frame.
Gather the tools and materials.
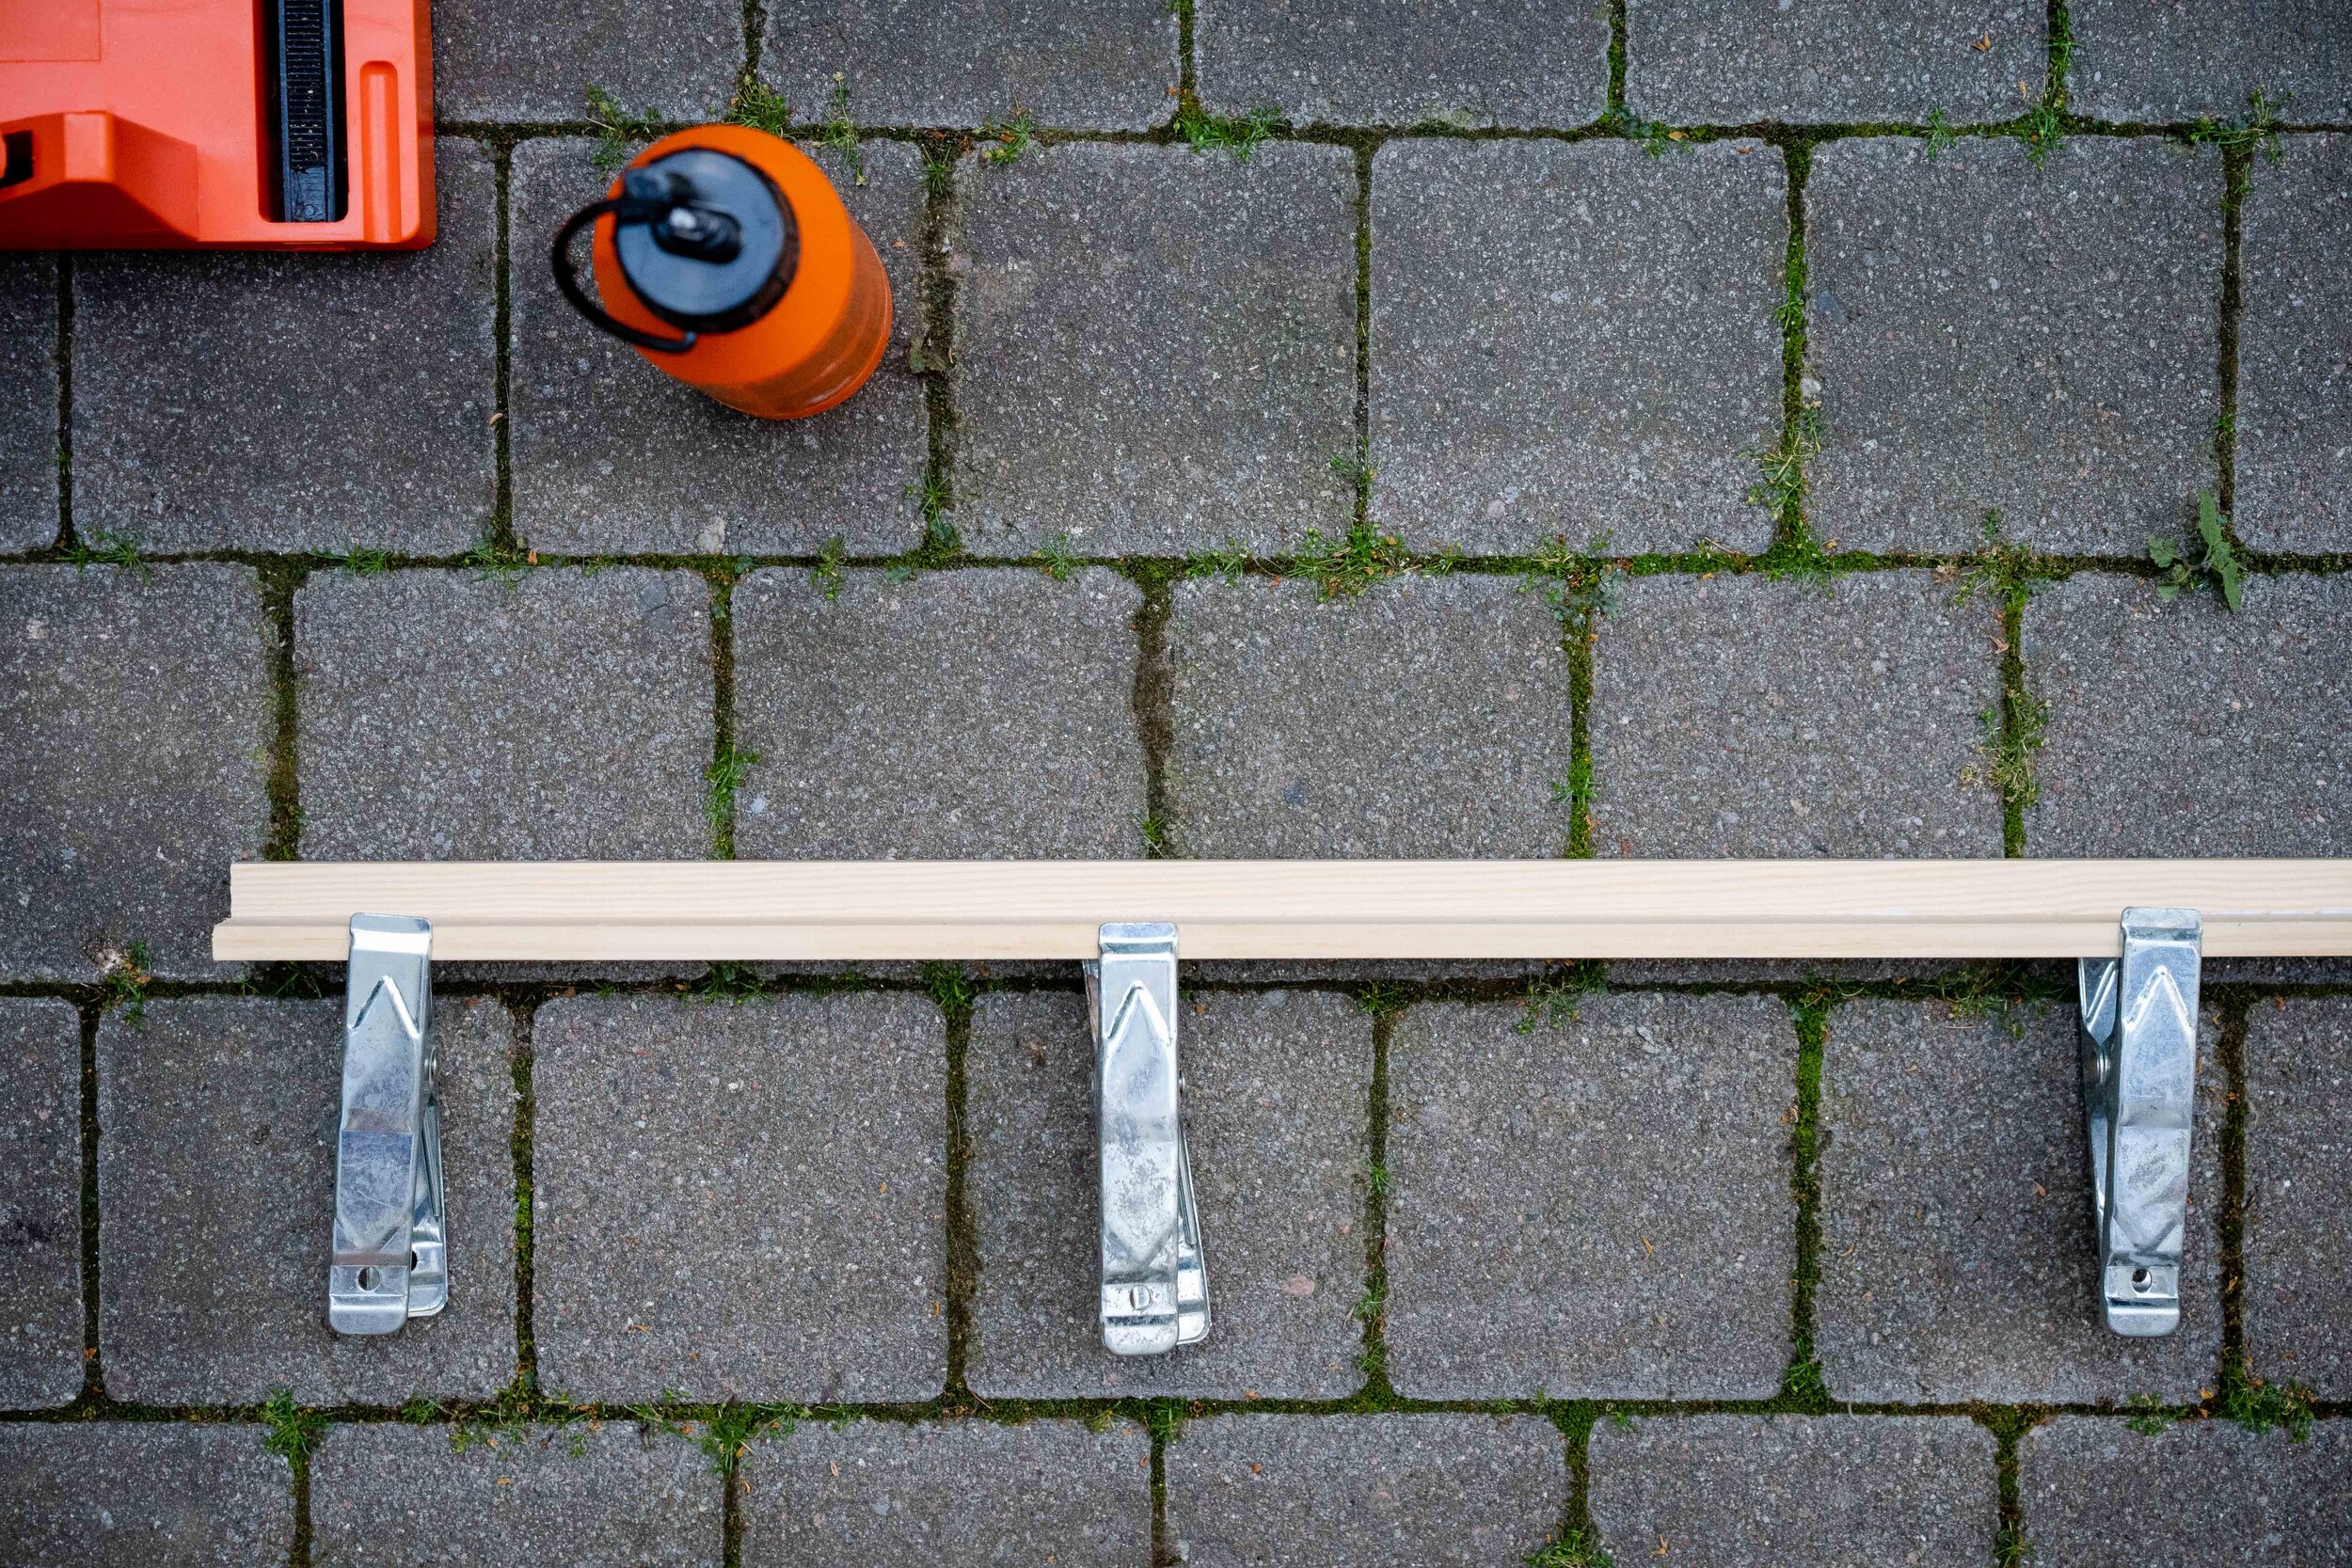
Glue the wood together so it forms an L-shape, clamp and let dry.
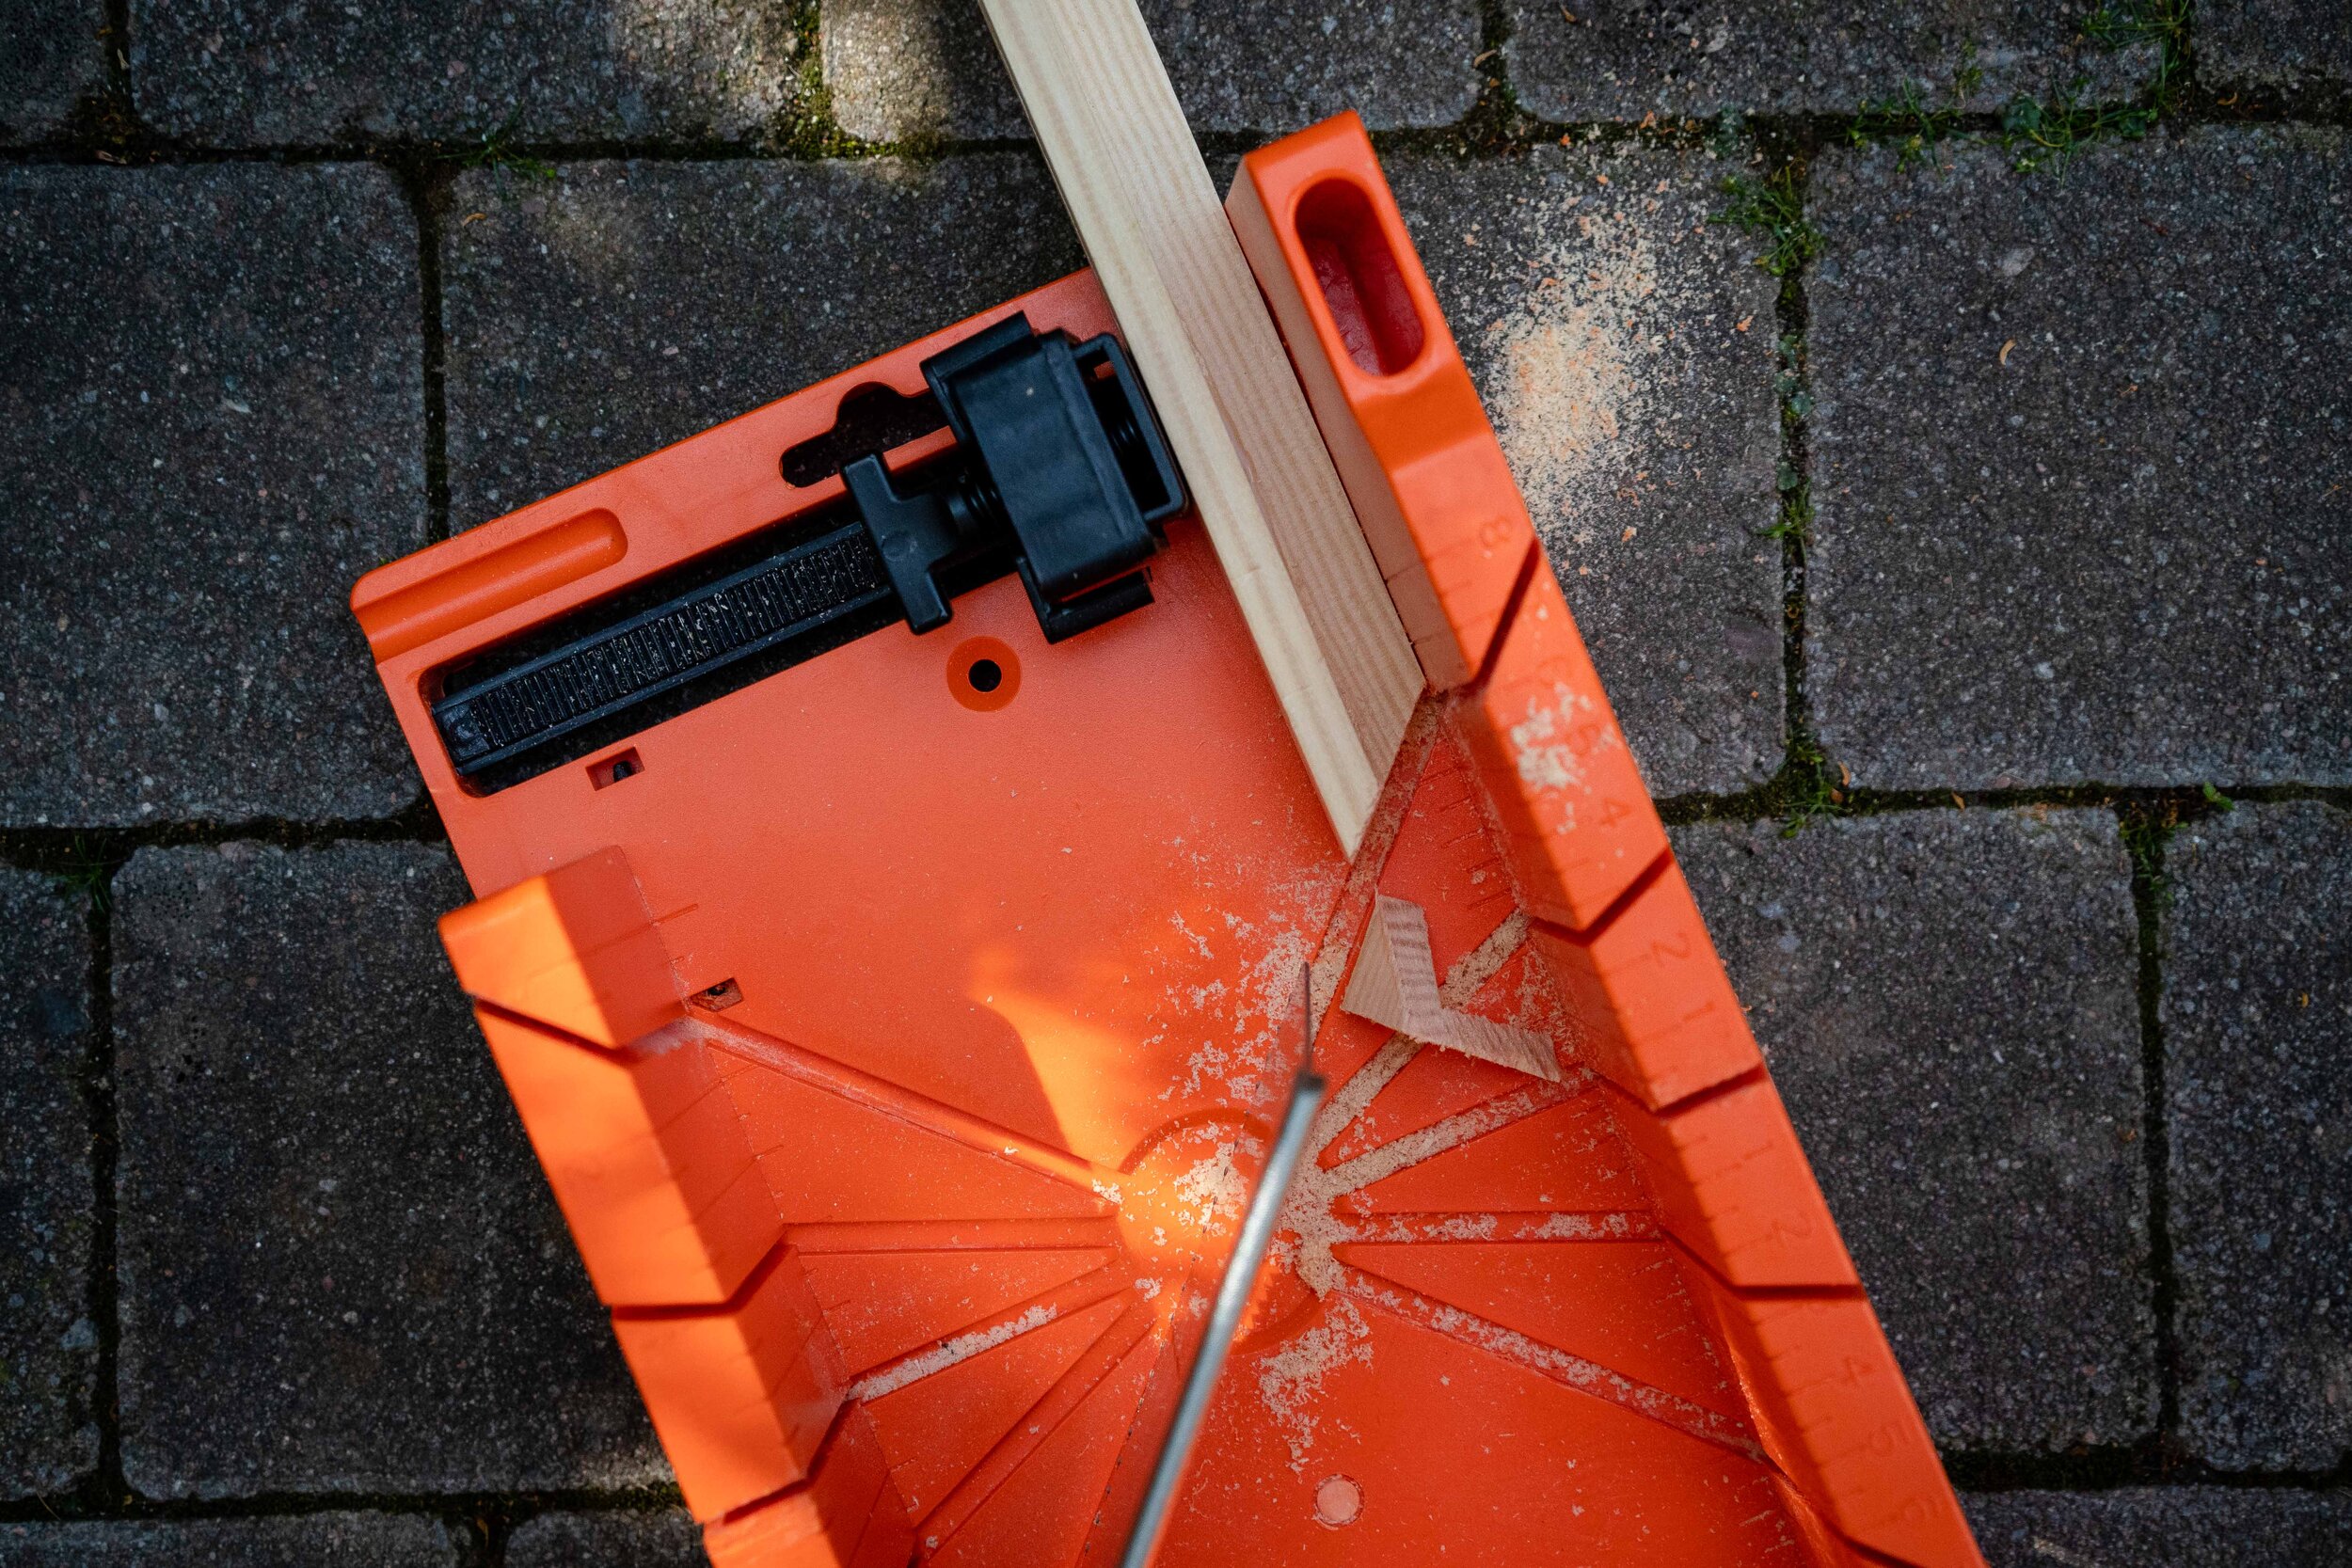
Mitre the first corner.
Measure against your canvas to determine how much space you want between the finished frame and the canvas and mitre the four L-shaped pieces accordingly.
Sand any rough edges.
Glue and clamp the frame together. I didn’t have good clamps for this so I added a staple at the back of each corner and used masking tape all around the frame and at the corners to hold everything in place and let dry.
Varnish or if you prefer, stain and varnish. I used spray varnish because I had some on hand.
Pop the canvas inside the frame and drill pilot holes through the frame into the brace of the canvas making sure everything is centered.
Nail or screw the frame to the canvas in all four corners.
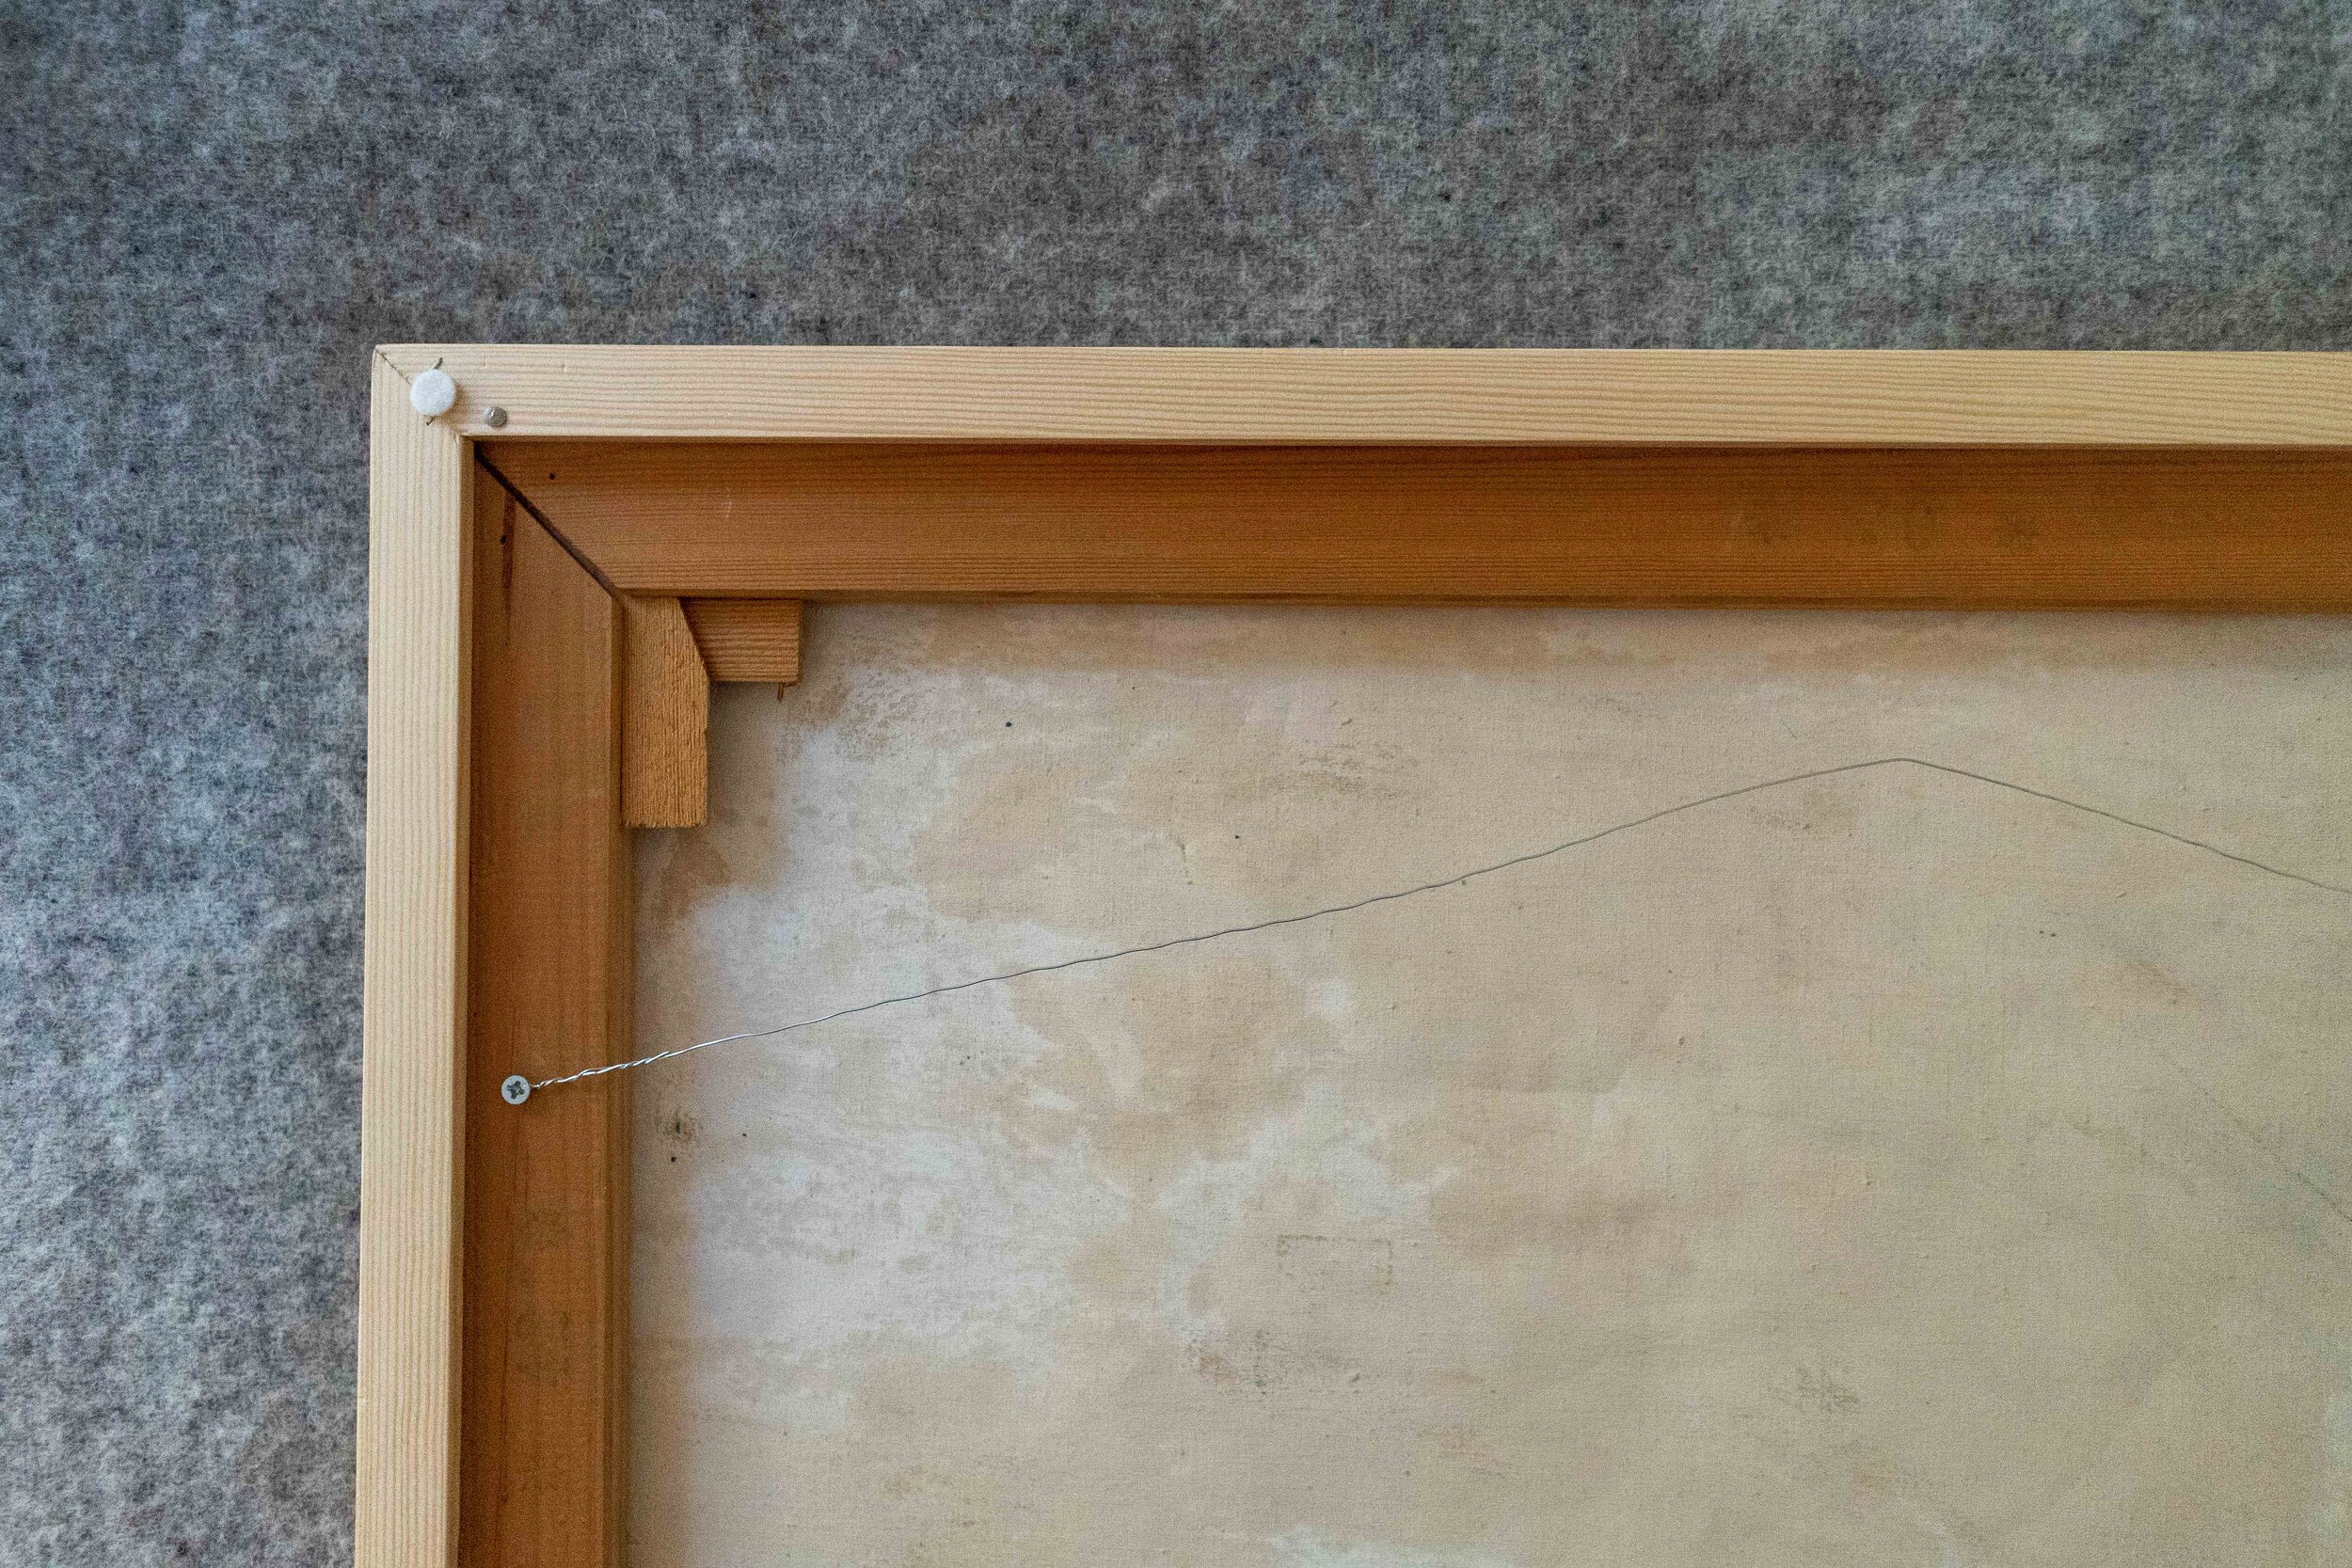
Add a screw to each side and string metal wire between for hanging.
Optional: Add felt pads to all four corners to protect the wall.


Where did it end up?
My initial idea was to hang the painting over the sofa in my living room. When I brought it home I ended up trying it in three different places. Can you guess where it ended up? Or did you see it in a video already?